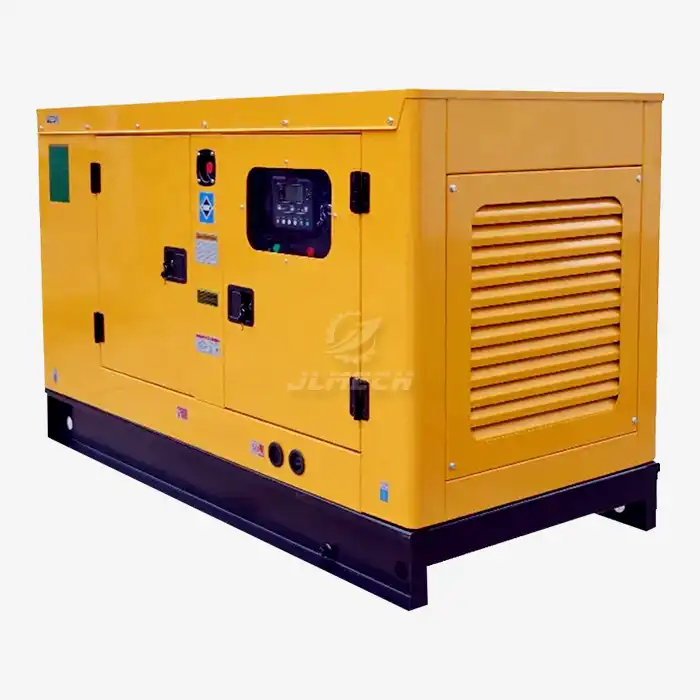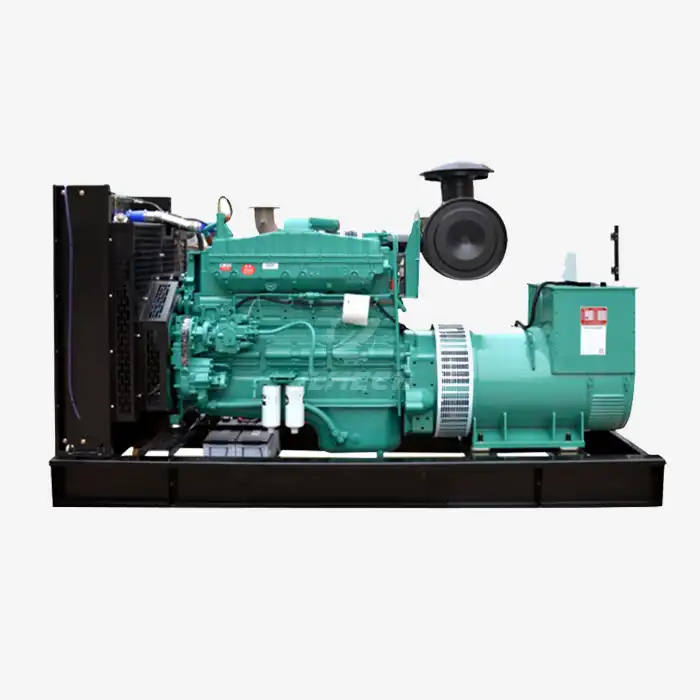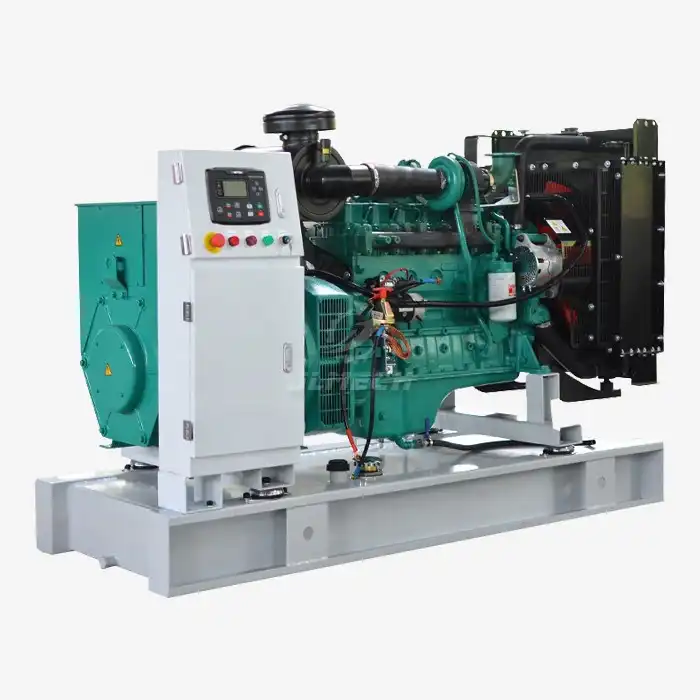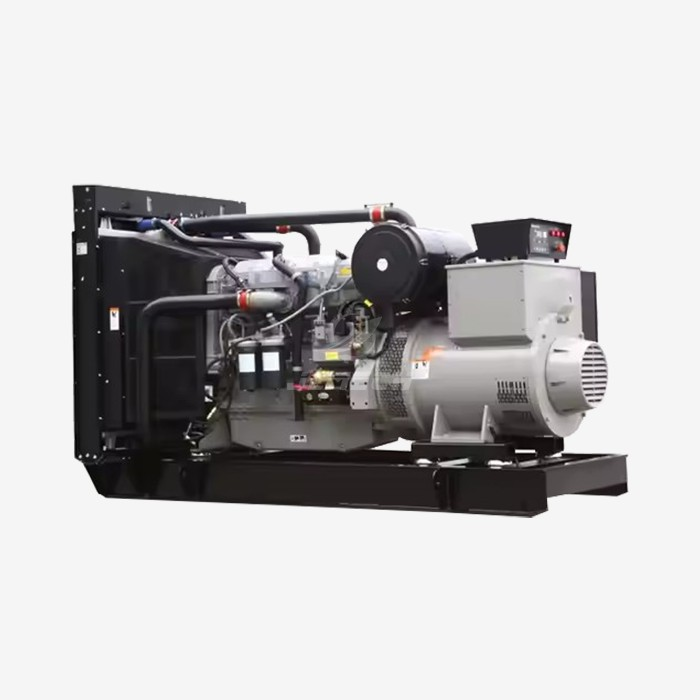

Water Leaks in Your Generator? Here Are 5 Common Causes and Fixes
Discovering a puddle or a drip under your generator can instantly raise your blood pressure. Is it a minor issue or a sign of impending, costly failure? In the world of power generation, water is a double-edged sword: it's essential for cooling but disastrous in the wrong places. Ignoring a leak is never an option, as it can lead to rust, electrical shorts, or catastrophic engine overheating. Think of your generator's cooling system as its circulatory system; a leak is like a bleeding wound that weakens the entire machine. The good news is that many Generator Water Leak have straightforward causes and solutions. This guide will walk you through the five most common sources of leaks, helping you identify the problem and understand the steps needed to fix it, ensuring your unit remains a reliable asset, not a source of anxiety.

Why You Should Never Ignore a Leak
Water in a generator is meant to travel in sealed passages within the engine block and radiator. Any escape from this closed circuit is a Generator Water Leak that signals a breach in the system's integrity. The consequences extend far beyond the mess on your floor:
Coolant Loss: This directly leads to engine overheating, which can warp cylinder heads and cause severe engine damage in minutes.
Corrosion: Leaking water accelerates rust on metal components, electrical connections, and the base frame.
Electrical Failure: Water contacting the stator, control panel, or wiring can cause short circuits, sensor faults, and permanent damage.
Understanding these risks makes prompt diagnosis and repair not just a maintenance task, but a critical business continuity priority.
5 Common Causes of Generator Water Leaks and How to Fix Them
Here are the five most frequent culprits behind a leaking generator, starting from the simplest to the more complex.
1. Loose or Damaged Hose Connections
The Cause: The cooling system has numerous hoses (radiator, heater, bypass). Vibration from engine operation, thermal cycling (expansion and contraction from heat), or simple aging can loosen hose clamps or cause the rubber hoses themselves to become brittle and crack.
The Signs: Drips or streams of coolant tracing back to hose ends or along the hose body. You might see green, red, or orange coolant (depending on the type) collecting at connection points.
The Fix: Visually inspect all coolant hoses. Tighten loose hose clamps. If a hose is cracked, swollen, or mushy, it must be replaced. Always use manufacturer-specified hose and coolant types to prevent chemical incompatibility.
2. A Failing Water Pump Seal
The Cause: The water pump is the heart that circulates coolant. It contains a mechanical seal that prevents coolant from leaking out along the pump shaft. Over time, this seal can wear out due to normal use, abrasive particles in the coolant, or improper coolant chemistry.
The Signs: A steady drip or seepage coming from the “weep hole” (a small vent) on the bottom of the water pump housing. This is a designed feature to indicate seal failure before it causes bearing damage. You will see coolant dripping from the pump body itself, not from a hose.
The Fix: The water pump must be replaced. A failing seal cannot be repaired effectively. Continuing to run with a leaking pump seal will lead to bearing failure and complete pump breakdown, resulting in rapid engine overheating.
3. Corroded or Cracked Radiator
The Cause: The radiator, made of thin fins and tubes, is vulnerable. External damage from debris, internal corrosion from poor water quality or lack of inhibitor chemicals, and stress from pressure cycles can create small cracks or pinhole leaks.
The Signs: Coolant leaking from the radiator core (the finned area), from tank seams, or from the drain valve. You may also see external corrosion or bent fins. Pressure testing the cooling system is the definitive way to confirm a radiator leak.
The Fix: Small leaks in accessible areas can sometimes be repaired by a specialist radiator shop. However, for reliability, replacement with a new or professionally re-cored radiator is often the recommended long-term solution to prevent a total Generator Water Leak on a critical day.
4. Faulty Pressure Cap
The Cause: The radiator cap is more than a lid; it's a pressure regulator. It maintains the cooling system at a specific pressure (e.g., 7-15 PSI), which raises the boiling point of the coolant. A cap with a worn or damaged seal or spring will not hold pressure.
The Signs: Coolant may be pushed out of the overflow tube when the engine is hot, or you may find coolant around the filler neck. The engine may overheat not because of coolant loss, but because the boiling point has been lowered by the lack of pressure.
The Fix: Test the cap with a radiator pressure tester or replace it outright. It is one of the least expensive but most critical components. Always replace it with a cap of the exact same pressure rating.
5. Cylinder Head Gasket Failure (The Most Serious)
The Cause: The head gasket seals the cylinder head to the engine block, separating the combustion chambers from the oil galleries and coolant passages. Extreme overheating, improper installation, or engine age can cause this gasket to fail.
The Signs: This is a major internal leak. Symptoms can include: coolant and oil mixing (creating a milky, frothy sludge on the dipstick or under the oil cap), white smoke in the exhaust (burning coolant), coolant loss with no visible external leak, and bubbles in the radiator or overflow tank while the engine runs.
The Fix: This is a major repair requiring engine disassembly to replace the head gasket. It must be diagnosed and repaired by a qualified technician, as it involves precision torquing procedures and often machining of the cylinder head.
Prevention is Your Best Strategy
While some leaks are inevitable with age, a proactive maintenance program is your strongest defense against unexpected Generator Water Leak. This includes:
Regular visual inspections for dampness, rust, or crusty coolant deposits.
Using the correct type of coolant and changing it at the manufacturer's recommended intervals.
Performing scheduled pressure tests of the cooling system to find weak points before they fail under load.
Conclusion
A water leak in your generator is always a call to action, but not always a cause for panic. By systematically checking from the simple (hoses and cap) to the complex, you can identify the source and take appropriate steps. Prompt attention to leaks protects your significant investment and ensures your generator is ready when you need it most.
If you've identified a leak that requires professional diagnosis, genuine parts, or expert repair, our technical team is here to help. We can assist in troubleshooting and providing long-term solutions to keep your power supply secure and dry.
Contact us at skala@whjlmech.com for support with any Generator Water Leak or cooling system maintenance needs.
References
Diesel Service and Supply. (2023). Preventive Maintenance Guide for Diesel Generators: Cooling System Inspection. Retrieved from Diesel Service and Supply.
Cummins Inc. (2022). Cooling System Maintenance for QSB6.7 Generator Sets (Service Bulletin SB-0001). Cummins Power Generation.
NFPA 110. (2022). Standard for Emergency and Standby Power Systems: Maintenance and Testing Requirements. National Fire Protection Association.