Diesel Fuel Line: Leak Detection & Safe Replacement
The integrity of your diesel generator's fuel delivery system is paramount to its reliable operation and overall safety. A compromised Diesel fuel line can lead to performance issues, costly fuel waste, and severe fire hazards. Whether caused by age, vibration, or external damage, a leaking fuel line demands immediate attention. Understanding how to accurately detect leaks and perform a safe, proper replacement is an essential skill for any generator operator or maintenance technician. This guide provides a comprehensive, step-by-step approach to diagnosing and resolving Diesel fuel line issues, ensuring your power source remains both efficient and safe.
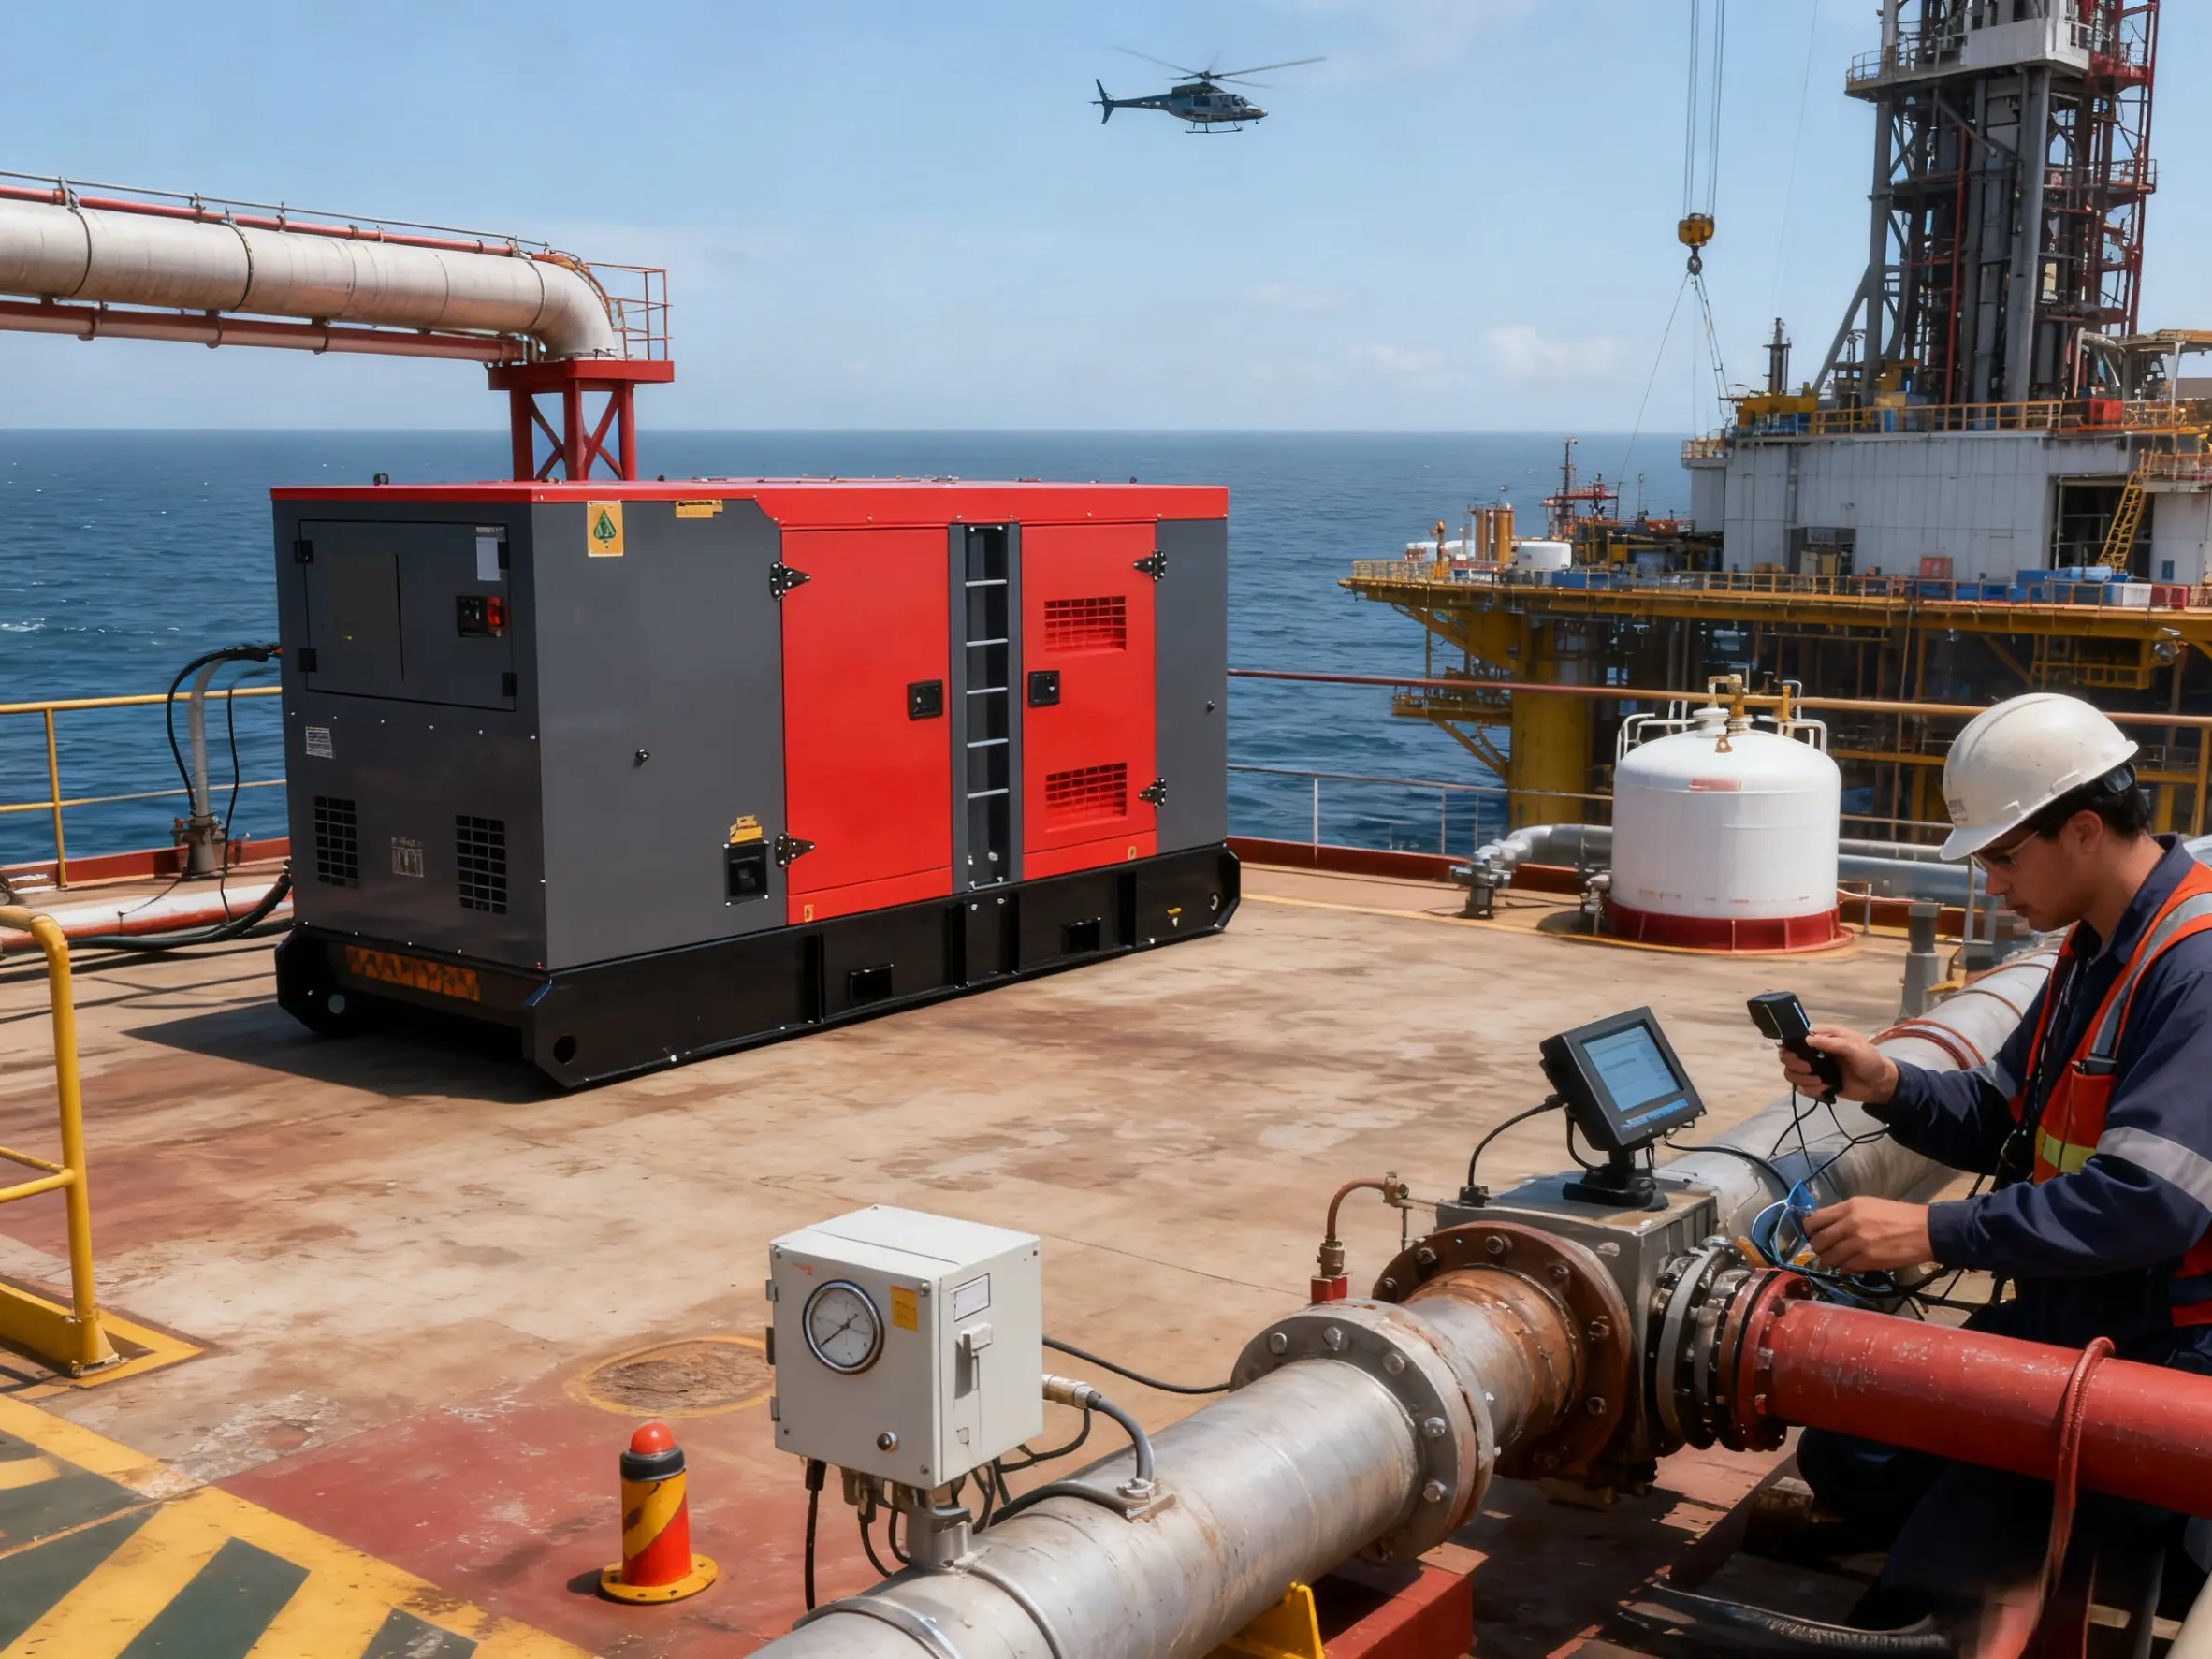
Recognizing the Signs of a Leak
Early detection is the first line of defense against the dangers and inefficiencies of a fuel line leak. Be vigilant for these key indicators:
The Smell of Diesel: A persistent, strong odor of diesel fuel around the generator or in the enclosure is one of the most immediate and obvious warnings.
Visible Wetness or Stains: Look for damp spots, drips, or dark stains along the length of the fuel lines, especially at connection points like joints, unions, and the fuel injector inlet.
Puddles Under the Generator: The presence of a puddle or a clearly defined wet spot on the ground directly beneath the fuel system components is a definitive sign of an active leak.
Decreased Engine Performance: A leak, particularly on the suction side of the fuel pump, can allow air to enter the system, leading to hard starting, rough idling, power loss, or even engine stalling.
Unexpectedly High Fuel Consumption: If your generator is using fuel more rapidly than usual without a corresponding increase in load, a leak could be the culprit.
Methods for Pinpointing Leaks
Once a leak is suspected, a thorough inspection is necessary to locate its exact source.
Visual and Tactile Inspection:
- Wipe the entire Diesel fuel line with a clean, dry, white cloth or paper towel. Any fuel residue will be clearly visible on the white surface.
- Carefully run your fingers along the line, feeling for wetness or fuel. Always wear protective gloves.
Pressure Testing:
This is the most reliable method for finding small, elusive leaks.
- Isolate a section of the fuel line.
- Use a hand pump to pressurize the line to a level specified in the generator's service manual (typically lower than the operating pressure of the fuel injection system).
- Observe the pressure gauge. A drop in pressure confirms a leak. Spraying a soapy water solution on the line will cause bubbles to form at the leak point.
Using Detection Fluids:
- Commercial leak detection fluids can be sprayed onto suspected areas. They will change color or foam upon contact with diesel fuel.
Safety Precautions Before Starting Work
Working with diesel fuel requires strict adherence to safety protocols to prevent fire and injury.
Work in a Well-Ventilated Area: Ensure the space has ample airflow to prevent the accumulation of flammable fumes.
Eliminate Ignition Sources: Prohibit smoking, open flames, sparks, or any activity that could ignite fuel vapors. Disconnect the generator's battery to prevent accidental starting or electrical sparks.
Wear Appropriate Personal Protective Equipment (PPE): This includes safety glasses, chemical-resistant gloves (nitrile or neoprene), and protective clothing.
Depressurize the System: Before disconnecting any line, relieve the pressure in the fuel system according to the manufacturer's instructions.
Have a Fire Extinguisher Ready: Keep a Class B (flammable liquids) fire extinguisher within immediate reach.
Step-by-Step Replacement Guide
Once the leak is located and safety measures are in place, follow this systematic procedure to replace the faulty Diesel fuel line.
Gather Tools and Materials:
- You will need the correct replacement line (same length, diameter, and material rating), appropriate wrenches, line wrenches (to prevent rounding off nuts), a drip pan, and clean rags.
Depressurize and Drain:
- Close the main fuel supply valve.
- Place a drip pan beneath the area you will be working on.
- Loosen the fittings at both ends of the damaged line to drain any residual fuel into the pan.
Remove the Old Line:
- Use the correct size wrench, preferably a flare-nut or line wrench, to fully disconnect the fittings at both ends of the damaged section.
- Carefully remove the old line from its clamps or brackets.
Install the New Line:
- Use the old line as a template to pre-shape the new one, ensuring it follows the exact same route to avoid kinks or stress on the fittings.
- Install the new line into the brackets and hand-tighten the fittings.
- Use a wrench to finalize the tightening. Be careful not to over-tighten, as this can damage the fittings and create a new leak. The goal is a snug, secure fit.
Bleed the Air from the System:
After replacement, air will be trapped in the fuel line. This is a critical step for the proper operation of a Diesel fuel line.
- Open the fuel supply valve.
- Locate the bleed screw on the primary fuel filter or injection pump.
- Place a container under the bleed screw and open it slightly.
- Operate the manual priming pump (if equipped) or crank the engine briefly until a steady stream of fuel, free of air bubbles, flows from the bleed port.
- Tighten the bleed screw.
Post-Replacement Testing and Verification
After installation, it is crucial to verify the repair was successful.
Visual Re-inspection: Double-check all connections for tightness and look for any signs of weeping or drips.
Pressure Test (Optional but Recommended): Re-pressurize the system to check for leaks at the new connections.
Start and Run the Generator:
- Start the generator and let it run for several minutes.
- Observe the new line and connections closely under operating pressure.
- Check that engine performance has returned to normal, with no signs of air ingress (like rough running).
Preventive Maintenance Tips
Proactive maintenance can prevent most fuel line failures and extend the service life of your Diesel fuel line.
Regular Visual Inspections: Make it a routine to check the condition of all fuel lines for signs of wear, cracking, chafing, or softening.
Secure All Clamps and Brackets: Ensure lines are properly secured. Vibration is a major cause of line failure, so check that all mounting clamps are tight.
Use the Correct Replacement Parts: Always use high-quality, manufacturer-recommended lines that are rated for diesel fuel and the specific pressures of your system.
Consider the Environment: Protect fuel lines from extreme temperatures, direct sunlight, and contact with chemicals or sharp edges.
Conclusion
A leaking diesel fuel line is a serious issue that cannot be ignored. Through systematic leak detection, strict adherence to safety protocols, and a meticulous replacement process, you can restore the integrity and safety of your generator's fuel system. Regular preventive maintenance is the most effective strategy for avoiding unexpected failures and ensuring that your generator provides reliable power when it is needed most.
Our technical support team can provide expert advice, high-quality replacement parts, and professional maintenance services for your generator's fuel system. For assistance, please contact our experts at skala@whjlmech.com.
References
- Generator Manufacturers Association. (2021). Recommended Maintenance Practices for Diesel Generator Fuel Systems. GMA Technical Publication TP-108.
- International Organization for Standardization. (2018). Reciprocating internal combustion engine driven generating sets — Part 1: Application, ratings and performance (ISO 8528-1:2018).
- National Fire Protection Association. (2020). Standard for Emergency and Standby Power Systems (NFPA 110).
- Johnson, M. (2022). Emergency Power Systems: A Comprehensive Guide to High-Speed Diesel Generators. Power Engineering Quarterly, 45(3), 78-92.


